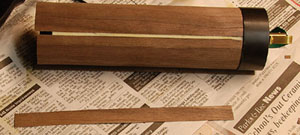

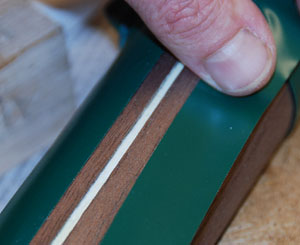
The edges of the veneer are protected with a strip of a 2nd layer of veneer contact-cemented over the seam. 1/2" to 3/4" wide is sufficient. Cut the strip with straight edges and a square end to fit against the socket end cap. Bevel the two long edges with a file or sandpaper so that there is nothing rough or sharp to snag and splinter once the instrument is in use.
|
|
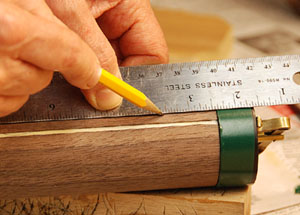
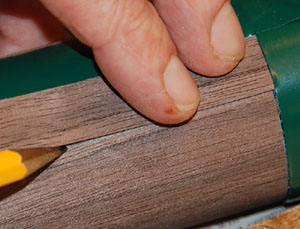
Mark a straight line for one edge of the strip on one side of the seam and then lay masking tape along it. Lay the tape against the line but leave the line barely visible so that the strip will cover it after gluing. To mark for the other side, position the strip at the edge of the tape, but very slightly overlapping the tape at each end of the mainstock. Then when you make the other pencil line, it too will be under the strip once it's glued down. Mask this line the same way, have the tape touch the pencil line but leave it visible.
 |
 |
 |
 |
 |
|
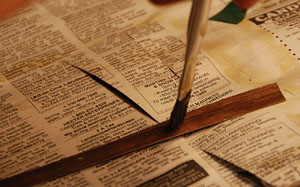
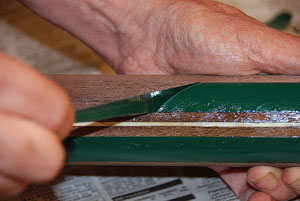
TApply the contact cement to the underside of the strip and then to the exposed seam area between the masking tape lines. Let dry according to the glue maker's instructions. For my glue, 15-30 minutes until no longer wet looking, leaving the surface mildly tacky.
 |
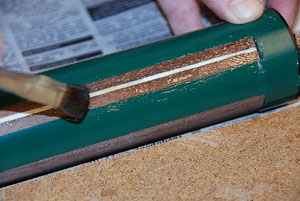 |
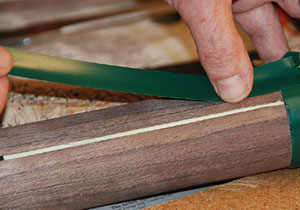
The masking tape is removed by pulling up and across the glued area. This way, if any threads of glue are pulled up by the tape, they will fall onto the glued area without spoiling the finished surface of the wood.
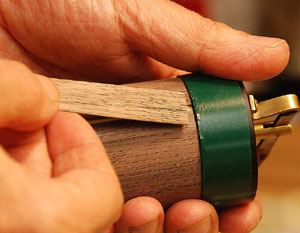
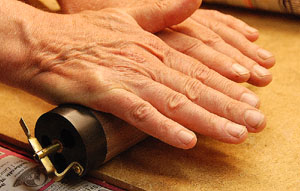
Now align the end of the wood strip against the socket cap, and precisely over the glued surface. Carefully lay the strip down in place, and after pressing the strip down with finger pressure, roll it against a clean wood surface for greater pressure and bonding.
 |
 |
 |
 |
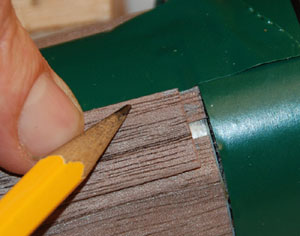
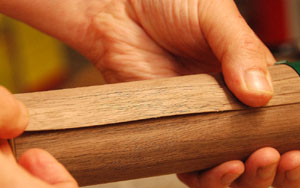
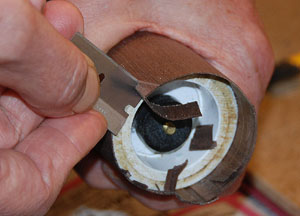
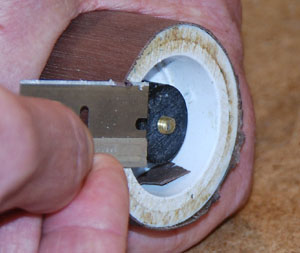
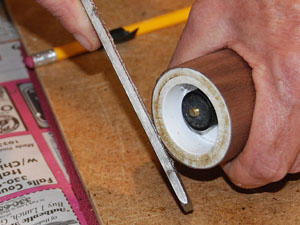
Let the glue set overnight, and then you can trim the wood flush to the bag end of the mainstock. Work slowly so that the wood doesn't split or tear over the surface of the mainstock itself. I use a sharp razor blade in a sawing motion pushing from the wood surface toward the inside of the tube. I cut around once leaving a tiny overhang, and then once again with blade or file to make the finished end smooth. File or sand the finished edge of the veneer at an angle to create a small protective bevel on the edge. The wood is now ready to be stained and/or varnished.
 |
 |
 |
Bottom of Wood Finish for Drone Mainstock Part 2 Page.